| © Hooker Chick |
All my projects start out with an idea and some yarn, and then I freestyle it until I arrive at something workable. I've tried my best to make the instructions as clear as possible. It was surprisingly complex when I started to type it up!
You will need :
690 yds/630 m aran/worsted weight yarn in colour 1
610 yds/560 m aran/worsted weight yarn in colour 2
1200 yds/1100 m aran/worsted weight yarn in self-striping colour 3
I used Drops Nepal 0618 & 0612, and Lion Brand Amazing 'strawberry fields'.
4.5mm hook, darning needle, scissors.
Abbreviations:
ch : chain stitch
tr : UK treble stitch
From flat side to flat side, hexagons should measure 4" across. Length of finished blanket 4 ft, width 3.5 ft measured point to point.
You will need to make 100 hexagons + 8 half hexagons.
Row 1 in colour 1, rows 2 & 4 in colour 3, row 3 in colour 2.
Here's how to make a hexagon ...
| © Hooker Chick |
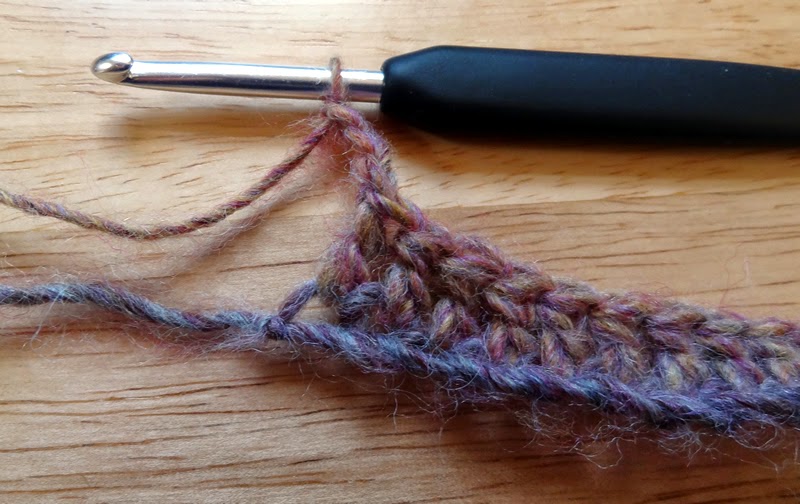
ch 4, slip stitch into 1st ch to join ring.
row 1 : pushing hook through centre of ring, ch 3, tr 5.
row 2 : joining yarn at top of row 1 chain, ch 3, then tr 2 into space, cont tr 2 into each space, tr into top of last row 1 treble.
row 3 : joining yarn in space between row 2 chain and 1st treble, ch 3, tr 2, tr 3, ch1, tr 3, tr 3, ch 1, tr 3, tr 3.
row 4 : joining yarn at top of row 3 chain, ch 4, tr 3, ch 1, tr 2, ch 2, tr 2, ch 1 tr 3, ch 1, tr 2, ch 2, tr 2, ch 1, tr 3, ch 1, tr into top of last row 3 treble.
Weave in ends using darning needle. You may wish to do this after making each hexagon!
Join hexagons to make up 9 rows ~ 5 rows of 12, and 4 rows of 11 + half hexagon at each end. Line up flat edges, right sides facing out, join yarn at one end then hook through top of stitches of each hexagon, yarn over, pull through (2 loops on hook), yarn over, pull through both stitches on hook. This gives a raised join, which adds a nice feature to the blanket.
| © Hooker Chick |
Join rows together using same method, working one way down the length and then up the other way, so that the way that the raised join lays alternates between rows ...
| © Hooker Chick |
To make the border, join yarn in colour 1 at end of long side, ch 3, then trebling into chain spaces tr 2, ch 1, tr 3, ch 1, tr 2, ch 2, tr 2, ch 1, tr 3, ch 1, tr 2, ch 1, tr 1, * tr 1, ch 1, tr 2, ch 1, tr 3, ch 1, tr 2, ch 2, tr 2, ch 1, tr 3, ch 1, tr 2, ch 1, tr 1. Repeat from * to last tr 2 from end, tr 1 (so you miss out the chain between the last tr 2 and tr 1).
| © Hooker Chick |
Continue in a similar fashion for 6 rows, except miss out the chain space that is now in line with the raised join. Yarn colours as follows :
Row 2 in colour 2
Row 3 in colour 3
Row 4 in colour 1
Row 5 in colour 3
Row 6 in colour 2
The final row continues all the way around the blanket. Join colour 1 at the start of the first border row (i.e. at the first chain stitch you made) then ch 3 and tr 2 into the space between the ch 3 & tr 2 of the first border row. Continue tr 3 into end of each border row, then ch 2 to make a corner, tr 3, ch 1, then continue as before along the long side. The photo below shows how the stitch pattern should look at the corners ...
| © Hooker Chick |
... and the next two photos show the stitch pattern for the short sides, at each whole and half hexagon ...
| © Hooker Chick |
| © Hooker Chick |
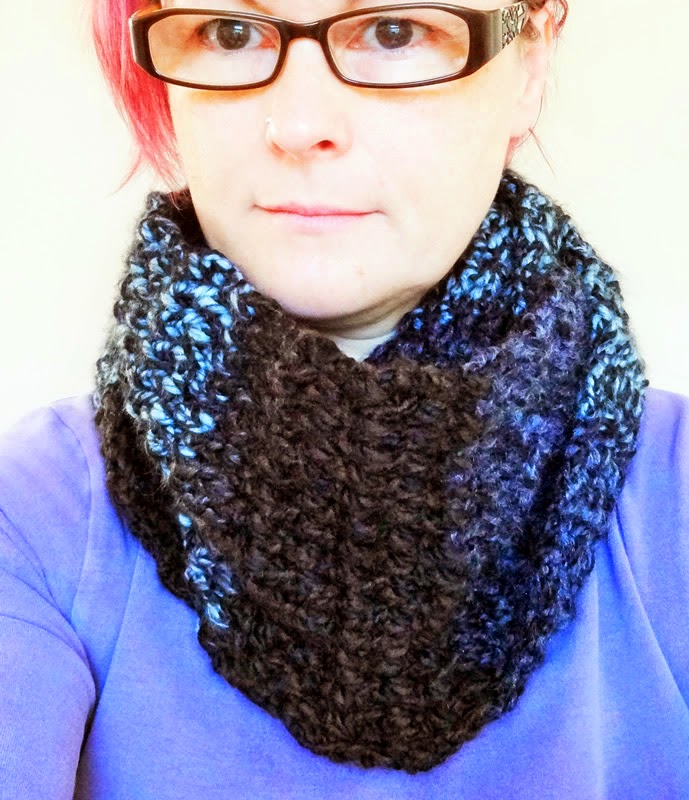
And that's it! A cosy blanket to snuggle under on chilly winter evenings.
| © Hooker Chick |
| © Hooker Chick |